
 October 10th, 2019
  easygroup
 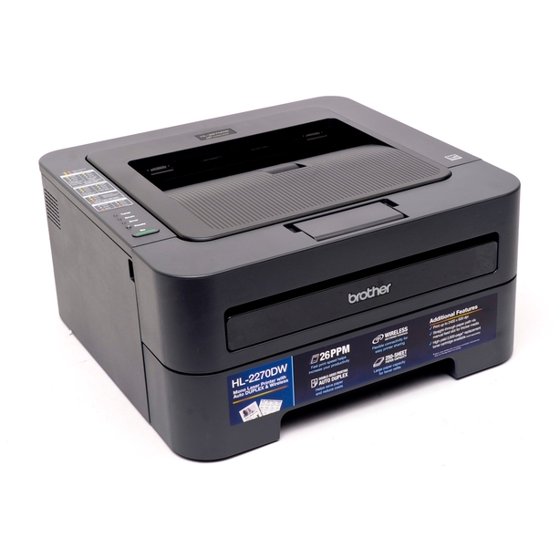 You might have noticed that after printing several papers using your Brother printer, the final print looks nowhere close to the one displayed on your computer screen. If that’s the case, then it’s possible that upon hitting the paper, your Brother HL-2270dw ink, for example, produced a different color combination coupled by the texture of the paper you’re using.
This has also been the case with some other cartridges from Brother printers as they have their own density, whiteness, and reflection. As a result, the printed product will have a slightly different appearance than the one you see on your screen.
Fortunately, if you want to match your final print with that of the image displayed on your screen, you can perform calibration both on your printer and monitor. There are several tools you can use to do this, or you can simply perform basic calibration.
To perform basic calibration, simply print an image and check if it’s the same. Once you’re done, adjust your screen’s grayscale so it will match the printed image. You can do this on any Brother printer and ink, so whether you’re using a Brother HL-2270dw ink or other inks from other Brother printers, the calibration process remains the same.
You can also use other calibration tools to make the process a lot easier – one of which is the Color Management Systems. This tool is used for calibrating your scanner, monitor, and printer all at once. With this, you can always retain color consistency across all your devices.

 Posted in
  Tags:
Tags: