
 October 19th, 2019
  easygroup
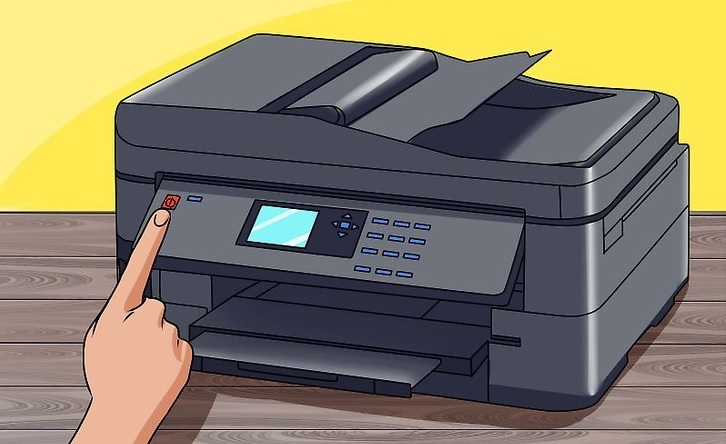
Changing ink cartridges in your Epson printer is relatively easy. Below are the steps you need to follow to change your ink cartridges, like the Epson Expression XP 310 ink cartridge for example:
1. Keep your replacement cartridges ready. Don’t remove your old ones unless you already have your replacements. This is to prevent the print head nozzles from drying out. Also, don’t open the new ink cartridges yet until you’re ready to install them.
2. Turn on your printer. You will see a notification on your printer’s LCD screen once an ink cartridge is expended. Select the cartridges you need to replace, press OK, then select Replace now.
3. Lift the scanner, but make sure not to use your hand to move the print head. Also, make sure you don’t touch the flat white cable which is located inside the printer.
4. Squeeze the Epson Expression XP 310 ink cartridge then lift it up to remove it.
5. Shake your new cartridge package gently around four to five times before opening it. Once done, open it to remove the cartridge.
6. After that, remove the yellow tape which is found on its side.
7. Insert the replacement cartridge to the holder then firmly push it down. You can tell if it’s secured if you hear a clicking sound.
8. Lower the scanner then press Start. The print head will start moving to its home position and the ink will start charging. This will often take up to 4 minutes, after which you’ll see the Ink Cartridge Replacement screen.
9. If there are errors regarding an incorrectly installed cartridge, lift the scanner unit then press the new cartridge again until it properly clicks in place. Repeat the previous step.

 Posted in
  Tags:
Tags: