
 April 9th, 2014
  easygroup
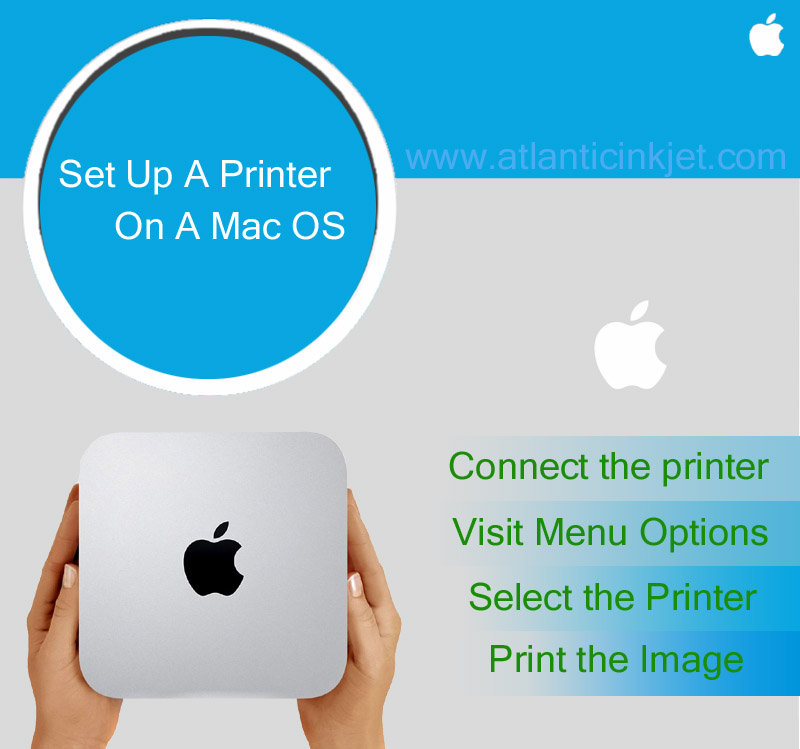
Mac is one of the most advanced operating systems for computer users. When you are trying to connect a new printer with your Mac backed laptop or computer, you may feel a bit confused. However, Mac is an interactive and innovative OS that robotically finds and installs the printer.
· The operating system has a huge driver database, which automatically locates and installs the printer, but if it is not able to situate the printer, you should –
· Find and install the printer/scanner driver from the compact disc.
· If you do not have the CD Drive and CD or DVD software package, then you should download the driver from the internet.
· The thing, which you should remember is – only the administrator of the computer can install the software.
How to Set Up A USB Printer to Your Mac
Connect the printer to your computer or laptop – Whichever brand of printer you may have, if you are going to install it on Mac, you must connect it to your computer or laptop. It means, you should connect the USB cable to the computer, power plug to the switchboard, and the switch should on. Moreover, your printer should also be ‘switched on’, in order to be detected by the printer.
Visit Menu Options – If you are using a computer with Mac OS X v10.2.8 or previous OS versions, you will get ‘Edit Printer List’ option in the ‘Printer Menu’. And, if you have Mac OS X v10.3 or later OS editions, then you will see ‘Show Printer List’ option in the ‘Printer Menu’.
Select the Printer – After viewing the printer list, you have to add your printer. Simply, click on the ‘Add Printer’ button, and select the ‘Add from USB’, and select your printer brand and model from the drop down menu. After selecting, close the popped up windows.
We’ll soon be posting ‘how to’ on installing other variations of printers on Mac OS. Keep visiting the blog!
 Posted in